Swing Keel Sanding
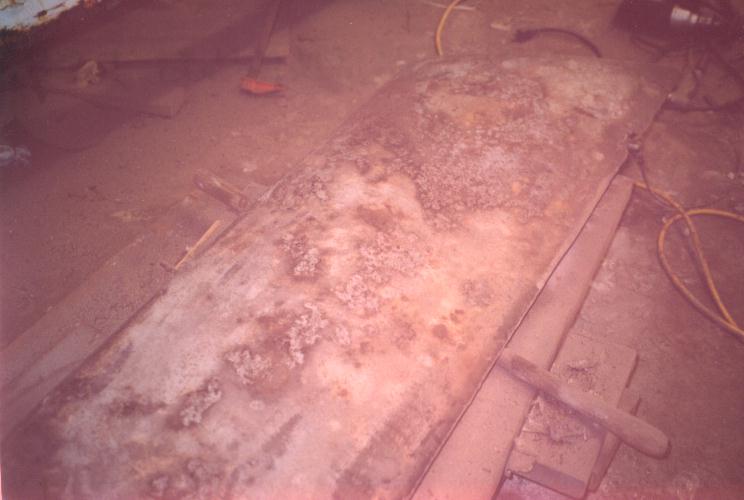
Sanding the Keel: I used a fairly powerful orbital sander and 16 Grit sanding disks to remove the many layers of bottom paint and expose the iron. The best way to remove all of the rust is sand blasting. I have a small sand blast gun, but it did not work too well on the initial layers of rust. So, I continued to use the orbital sander to grind down through the layers of rust.
|
|
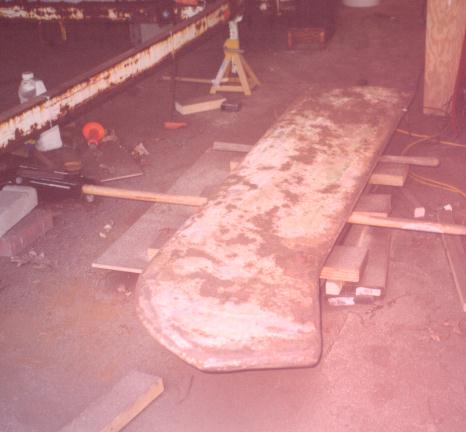
| Keel laying flat on Dolly | Many pitted areas where rust had formed cavities |
Once I had the majority of rust removed the sand blast gun could finish the job. Another way to remove the rust is with an angle grinder, but it is slow, tedious work. I removed most of the outer layers of rust with the orbital sander and used an angle grinder to get down to 'clean' iron.The keel had been previously maintained as evidenced by epoxy fairing in various areas. The metal underneath the epoxy was in pretty good shape, so it looks like encapsulating the entire keel in epoxy/glass should preserve the keel fairly well.
 |
 |
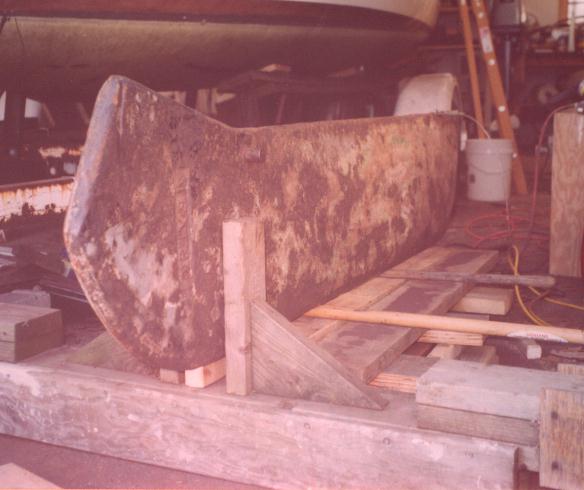
| Keel in its upright position held by the keel brace | Groove cut by keel locking pin |
Notice the score in the keel from the locking bolt (Photo right). This is from several instances of raising the keel while the locking bolt is still tight. I will have to figure out a way to repair this area The pivot pin appears to be in good shape, which is a good thing.
I was constantly needing to flip the keel over to progressively sand both sides. I used a 2 foot pry bar to give myself enough leverage to raise the keel up to a vertical, and then used the pry bar to lower it slowly on the other side. I occassionally worked on the keel in a vertical position, but most of the time it was flat on the dolly. Below (left) is a picture of the keel held up in a vertical position by the wooded brace. I had originally built this brace several years ago when I lowered the keel to inspect the pivot pin. It still works quite well.
 |
|
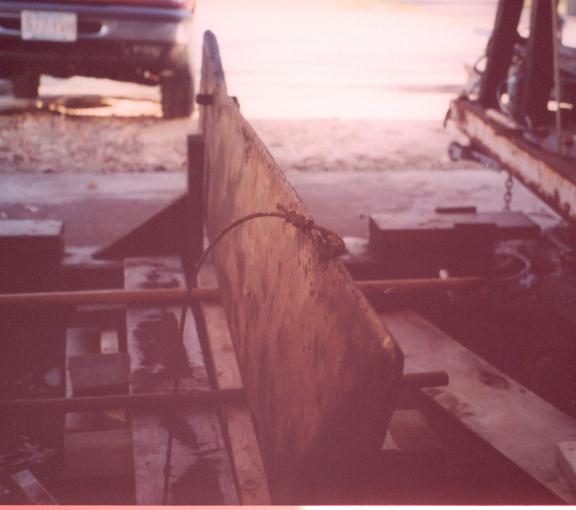
| Keel cable & eye bolt still attached | Pry bar used to turn & lower keel |
Removing the Eye Bolt: In order to get the area around the eye bolt down to bare metal, I had to remove the eye bolt. I had avoided removing it up to this point, based on my previous experience of bolt snapping. After a few attempts at loosening it, I realized the bolt was not going to budge; so I needed to get creative. Since the keel is iron and the bolt is stainless steel, I figured that I could expand the metal around the bolt so that it would come out easily. I set a propane torch to heat the area of the keel around the bolt. A couple of minutes on each side of the bolt, and then with the torch still on the keel, I easily losened the bolt.
