Fiberglass Gelcoat Restoration
and Boat Graphics
Back to
Completed Projects Back to Technical
Tips Home
 What a Dull Looking Finish . . . A 17 year old boat usually loses much of its original
Gelcoat shine. This was the case with my boat, and no matter how
much wax/polish I applied, the finish still looked pretty dull.
The boat would not repel water and would easily become stained.
To correct this problem (i.e. restore the shine), there are a
number of ways you can go . . .
What a Dull Looking Finish . . . A 17 year old boat usually loses much of its original
Gelcoat shine. This was the case with my boat, and no matter how
much wax/polish I applied, the finish still looked pretty dull.
The boat would not repel water and would easily become stained.
To correct this problem (i.e. restore the shine), there are a
number of ways you can go . . .
- Rubbing Compond and lots of rubbing
- AwlGrip (or similar) coatings
- Professional re-finishing
- Co-Polymer Restoring Products
 The
lowest cost and least effort is the Co-Polymer Products
(PoliGlow, VertGlas, etc.). This is the route I chose to go, and
after checking some product reviews, purchased a restoring kit
from the makers of "PoliGlow" www.poliglowproducts.com . The kit includes everything needed to prep and
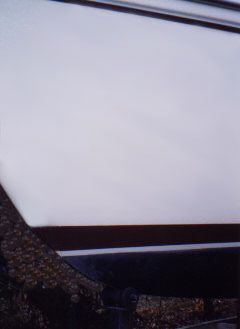
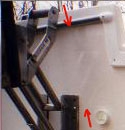
restore the fiberglass surface of a 25 foot boat. I did a small
area to test the product out. You can see in the image to the
left the difference in reflection between a treated and an
untreated area (red arrows mark the boundary).
The
lowest cost and least effort is the Co-Polymer Products
(PoliGlow, VertGlas, etc.). This is the route I chose to go, and
after checking some product reviews, purchased a restoring kit
from the makers of "PoliGlow" www.poliglowproducts.com . The kit includes everything needed to prep and
restore the fiberglass surface of a 25 foot boat. I did a small
area to test the product out. You can see in the image to the
left the difference in reflection between a treated and an
untreated area (red arrows mark the boundary).
I spent quite a bit of time cleaning and
preparing the surface for re-finishing. The PoliGlow will lock in
any stains, discolorations, etc. Therefore, it is important to
get the boat really clean - a mild bleach/water solution works
wonders. There were a couple of discolored areas that even bleach
would not clean. I sanded these areas lightly with 600 grit
sandpaper.
Once the boat was clean, it was time to apply
the special oxidation removing agent supplied in the restoration
kit. At this point, I realized that I needed to cover the boat,
as it was quickly getting dirty from dust in the air and the
trees in the yard. I used the mast as a supporting beam and
draped a tarp over the boat. This gave protection from the trees
and allowed adequate space to work.
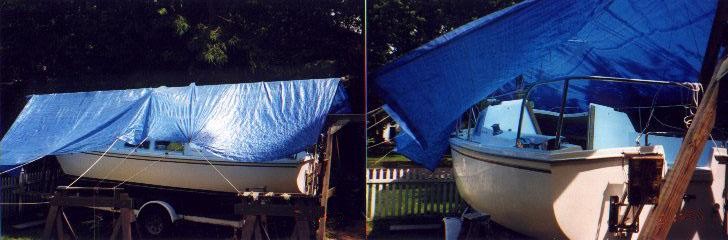 |
| Pictures of tarp
set-up and work area. |
Give It A Shine . . . The hull was
in pretty good shape already; the really bad areas were topside
(due to sun exposure over the years). I prepared to coat the
topside surfaces, then coat the hull. I contemplated the non-skid
areas, and finally decided to give them a single coat as a
compromise between 'non-skid' and 'stain resistance'. The other
areas of the deck, cockpit and cabin top received 4-5 coats. I
took off the Pop-Top Assembly and the Cockpit Locker Hatches and
coated them separately. This allowed me to treat the entire deck,
cabin top, and hull without dealing with extraneous pieces. There
were two application cloths provided in the kit (looked like
Chamois); one for large areas and the other for small areas. I
made a shallow tray out of the side of a milk carton, which
allowed me to soak the application cloths and not drip any
solution on the ground. I was concerned if there was enough
solution to do the entire boat, but only used about 2/3 of the
solution provided in the kit (1 Quart).
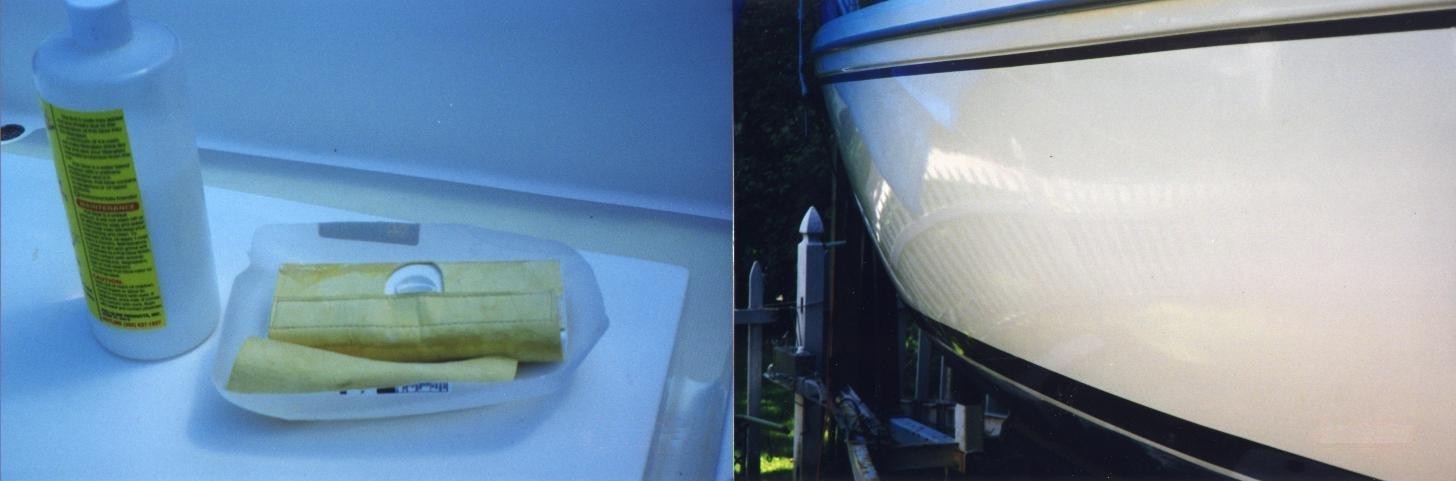 |
| Picture of the
"tools of the trade" and the final results. |
As you can see by the reflection in the picture
above, the results are quite astounding. I was very pleased with
the results and the durability of the shine. People tell me that
it looks like a new boat.
Now for a Name . . . Now that the PoliGlow had been applied to the hull, I
could apply the graphic lettering in order to 'officially' give
my boat a name. Giving a boat a name can be quite ceremonial;
there are several boat naming ceremonies you can find on the web.
Some are for the original naming and some are for re-naming. The
previous owner of my boat did not give it a name. So as far as I
know, this is the first name the boat has been given.
I thought about a name for the boat and asked
the family for suggestions. Then, finally, a name came to me that
epitomized the meaning of the boat (to me) -
"Essentials" .
I ordered a set of graphic lettering from
Boat/US - using my handy member discount, of course. The
lettering came within a few days. After reading the instructions
through several times, I was ready to apply the graphic
lettering. I ordered lettering with a 'Drop Shadow' effect, so
there was actually two sets of lettering - one for the Drop
Shadow, and the other for the main lettering.
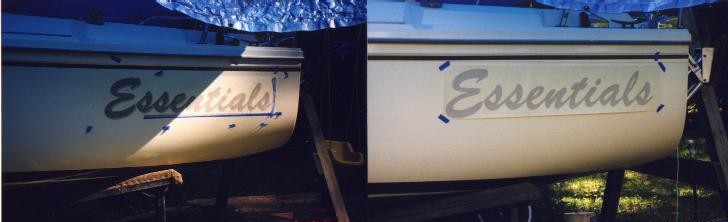 |
| The two-step process
of adhering the letters to the hull. First the shadow effect (left), then the main
lettering ( Right)
|
It helps to have the boat level while setting
up the graphic lettering, as it is easier to get the lettering
level with the water line. I used masking tape to denote the
baseline and temporarily hold the backing material in place while
the letters set-up/dried.
The Final Results
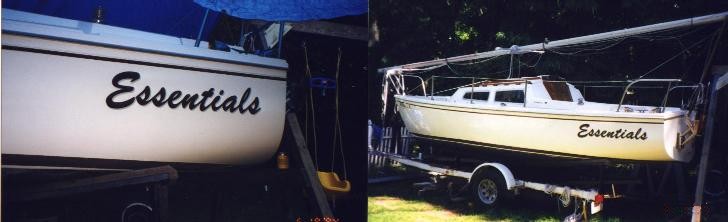 |
| The final results of
the graphic lettering, and the boat all dressed up and
ready to go. |
Poli-Glow: How Long Does it
Last ? (you ask) . . .
I applied the Poli-Glow in 1999
and it has been on for 4 seasons at this point (2003). I have not
polished the boat since then. It is looking like it could use a
re-coat after four years - pretty good! Perhaps I will shine it
back up for the 2004 season.
Back to
Completed Projects Back to Technical
Tips Home