Materials and Other Preparation


My plan was to add some drainage from the fuel tank compartment into to bilge. However, one of my concerns was the amount of water that normally resides in the bilge. The bilge pump always seems to leave a couple inches of water. I would rather not have that water flow into the fuel bay, So, I figured that a second pump located near the transom would get rid of most of the water.
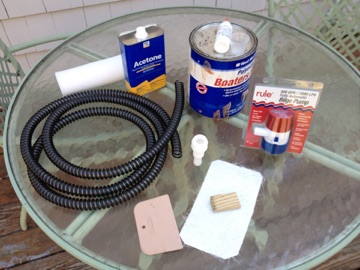
Below are some pictures of the ‘mini’ automatic bilge pump that I bought along with the supplies to fabricate a mounting pad and install it. I checked the clearance that the engine would need , and it looks like it will fit just fine.
Additional Prep Work:
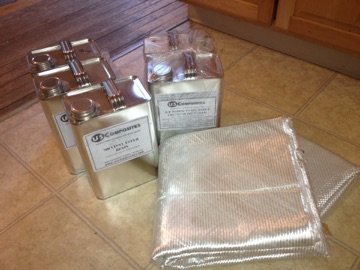
I ordered some fiberglass supplies to do the repairs, which you can see in the picture above. I also had some supplies from a previous project, so in total, I should have enough fiberglass and resin materials. I also ordered an 8 cubic foot foam kit, which consists of 2 gallons of foam liquid - parts A & B. When mixed together, it expands to approximately 30 times it original volume as it turns from liquid to solid form. So this will be approximately 60 gallons of foam flotation, or about 450 pounds of buoyancy. Much of this buoyancy was removed during the demolition process, so it needs to be put back.
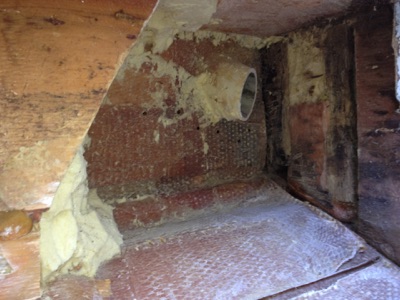
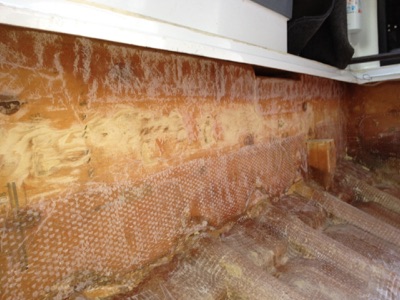
I continued with the prep work as can be seen in the photos below. I had worked much of the time with the gas and vent lines still installed in the boat, but the access to the starboard side was just too restricted. So, I removed the fuel lines and cut the conduit off short. The conduit will have to be re-routed slightly anyway to accommodate the new fuel tank, so it needed to be cut at some point.
I also plan to make a flat base along the keel inside the fuel bay. This will allow water to drain towards the bulkhead, instead of getting trapped by the ribs, which it does currently.
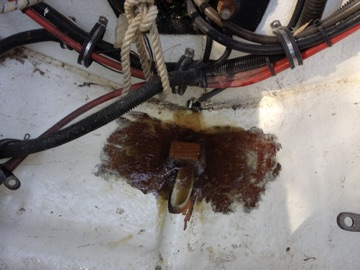
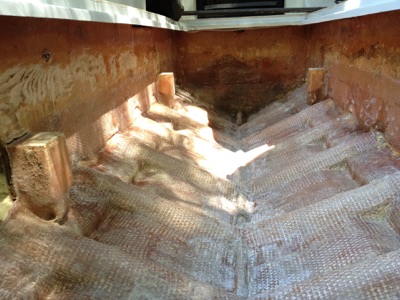
One of the outboard stringers on the starboard side turned out to have more rot that I had figured previously, so I needed to cut open the stringer, rather than work from the end. I will have to marry a stringer piece back into this section.
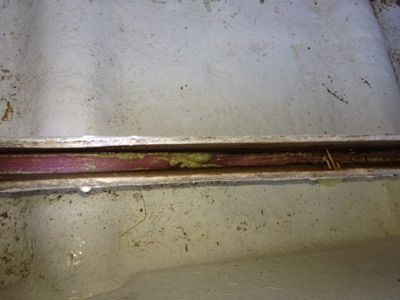
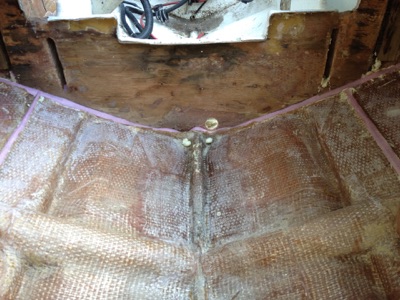
Other prep work consisted of laying down foam strips at the base of the new stringer and bulkhead sections to that they will be ‘suspended’ a fraction of an inch above the hull during the fiberglassing. This is to match the existing structure, which is up about 3/4” from the hull. The impact forces are transferred from the hull into the stringers through the tabbing, rather than directly. This allows for more energy absorption, and eliminates contact distortion of the hull, which is an original design feature of the boat. So the repairs need to stay consistent with the original design.
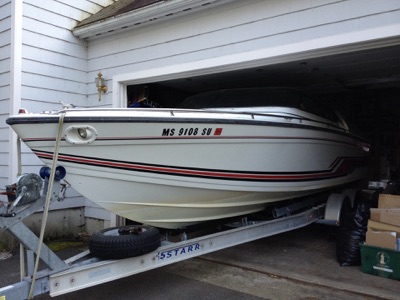
I had to put the boat in the garage (finally), as the periodic rainy days would tend to soak through the boat cover, making everything damp. Then the drying process would have to start all over again. Hopefully, with the boat under cover, it will dry out in a few days.
Once the boat has dried out, it will be ready for bulkhead and stringer re-construction and the associated fiberglassing, etc. Along the way, I also took a closer look at the fuel tank to see how it had faired 20 years of use. . . Click here to go to the fuel tank inspection page .