Swing Keel Removal
Removing the Keel: My efforts in repairing the hinge bolts a few years back paid off nicely as the keel bolts came out with ease. I had applied locktite to the threads and epoxy to the heads of the bolts. This combination resulted in secure bolts that would not sieze up over time. To remove the bolts, I supported the keel from underneath with a hydralic jack, and then removed the epoxy from around the bolt heads by drilling into it and chipping it away. With the bolts removed, I lowered the keel enough to expose the keel pin and hinge bushings. So far, so good, and now it was time to remove the keel.
|
|
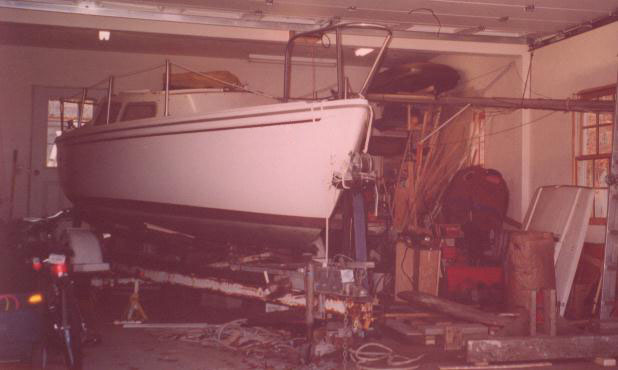
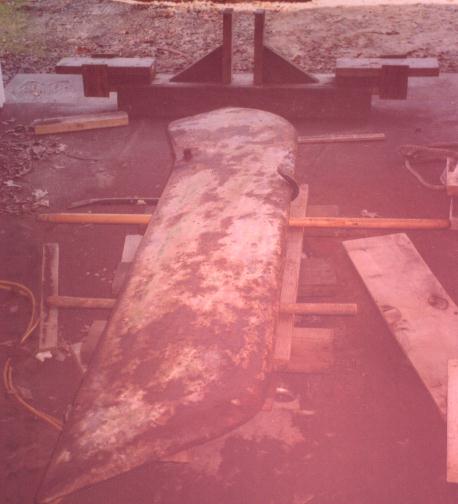
| The boat fit in the garage which made things a lot easier | Keel lowered from the boat ready to be turned on its side |
The keel weighs approximately 550 lbs., so SAFETY FIRST was my moto. I used the wooded frame that I built several years ago to support the keel while it was being lowered. I also kept the keel cable attached as it provides stability as well.
The keel is somewhat confined while the boat sits on the trailer. Some people lift the boat off of the trailer as a way to access and remove the keel. Lifting the boat off the trailer is a project in itself, so I thought about how I would get the keel out from underneath the boat without removing the boat from the trailer.
The keel is partially tucked up into a shallow channel within the bottom of the hull. The keel can be lowered several inches in the front to expose the keel pin and bushings, but it is quite confined in the rear portion. I raised the boat up a few inches to achieve the clearance needed in the back. However, the trailer cross members prevent the keel from being moved forward in its upright position. So, I had to lay the keel on it side in order to clear the cross member. Since the keel is too heavy for a person to move, I used several hydralic jacks and blocks to maneuver the keel. I had placed an assortment of 2x4's and blocks under the keel and used wooden dowels so that it could be rolled onto a waiting dolly. Rather than attempting to detach the cable from the keel (visions of another snapped bolt), I decided to detach the cable from the winch and take the cable with the keel.
 |
 |
| Keel on the dolly ready for sanding | The dolly needed to be braced on each side for stability |
It took about 2 hours to remove the keel and roll it onto the dolly. Once the keel was removed, it was time to start sanding (on to the next step).