Mercruiser 7.4L - Cylinder Head Assembly
The cylinder heads needed to be re-assembled as they were fully dis-assembled in order to go to the machine shop. Once the heads were re-assembled, they could be installed on the engine block. I contemplated re-using the head bolts, but decided against it since a few were in bad shape from rust. Head bolts seem to be only sold in sets, not individually, which makes sense as you would want them to be as identical as possible, in terms of their strength characteristics. So, I ordered a new head bolt set to install the heads.
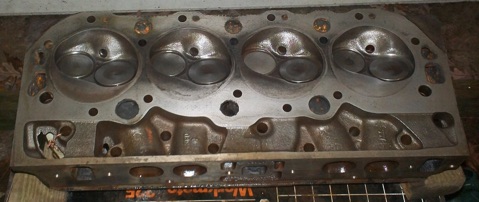
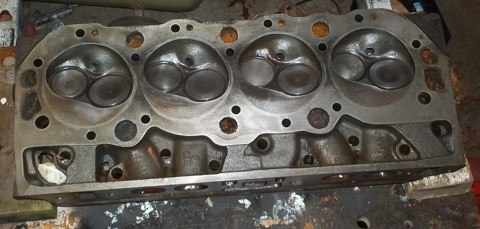
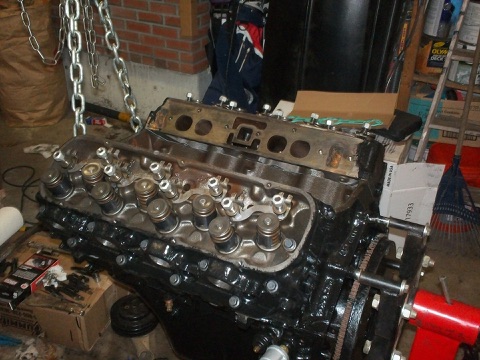
Here are pictures of the cylinder heads all cleaned up and ready.
Re-assembly of the heads involves installing the push rod guides, valve springs, valve stem seals and related components.
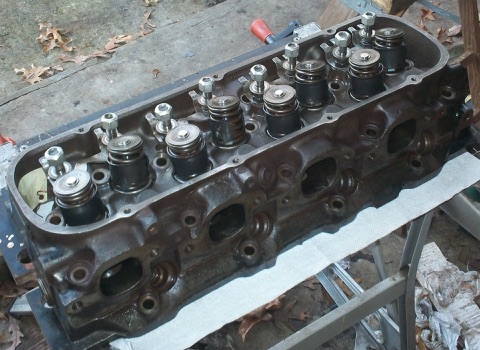
Here is a picture of the valves and springs assembled. The cylinder heads are ready to be installed on the engine, which is a fairly critical step in the overall process.
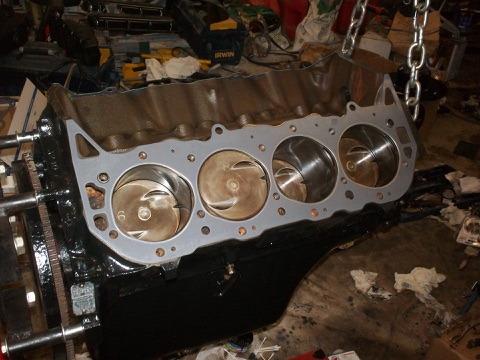
Here is the head gasket laid in place, ready for the cylinder head.
The GM 454 engine was set up for either ‘parallel’ or ‘serial’ cooling flow. The heavy duty engines were usually parallel flow and required the proper head gasket. The 3 holes in the head gasket shown by the red arrows in the picture to the left are for parallel flow. If you do not use the proper head gasket, then the engine may run very hot.


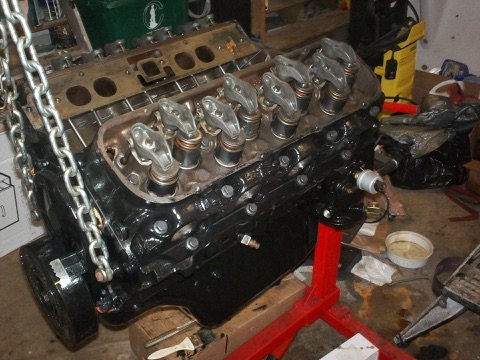
Here is a picture of the cylinder heads installed. Now the lifters and push rods can be installed, and then the intake manifold.
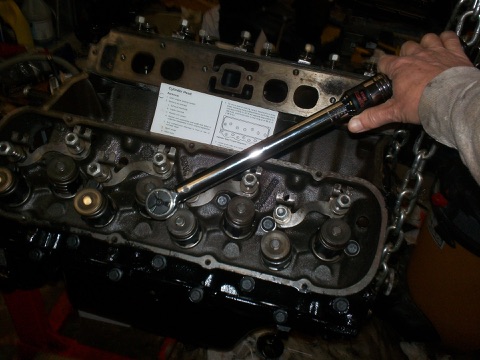
Putting the final torque on the head bolts. The head bolts are progressively tightened in a special sequence.
Here are the rocker arms installed.
Once the cylinders heads and valve system components were installed, it was time to start the final assembly of the engine .


