Mercruiser 7.4L Rebuild - Disassembly
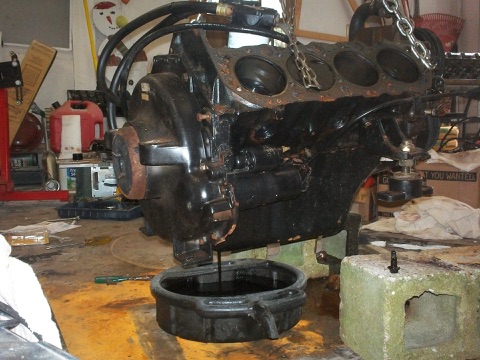
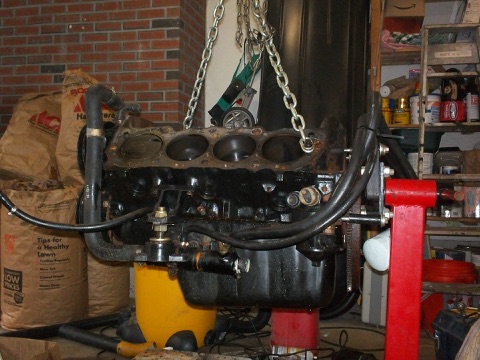
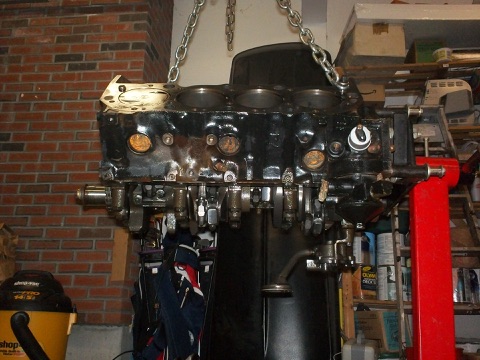
The oil pan and other components needed to be removed in order to expose the crankshaft and related parts of the lower engine. The first thing was to drain the oil as shown in the picture below (left). Then, the engine was mounted on a stand for easier handling. The stand was a little light duty for an engine of this size, so I kept the chain hoist attached for added support.
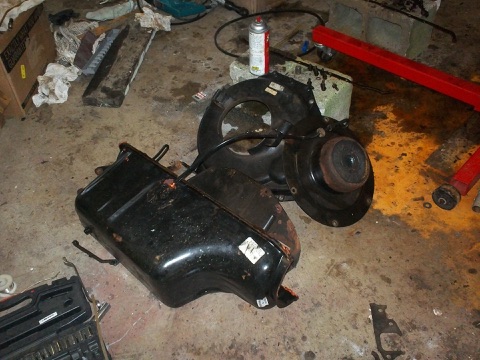
Here are the various pieces from dis-assembling - oil pan, flywheel housing and coupler. I was surprised to see that the coupler is quite large - the entire size of the flywheel. I guess the engine can handle some torque.
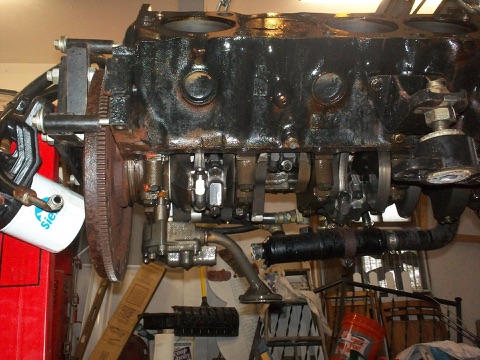
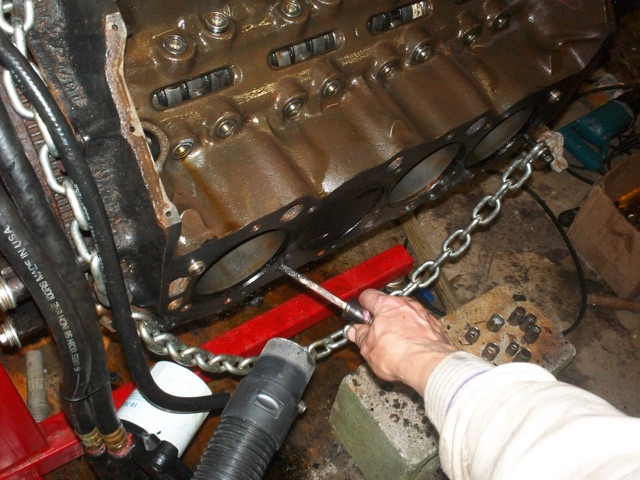
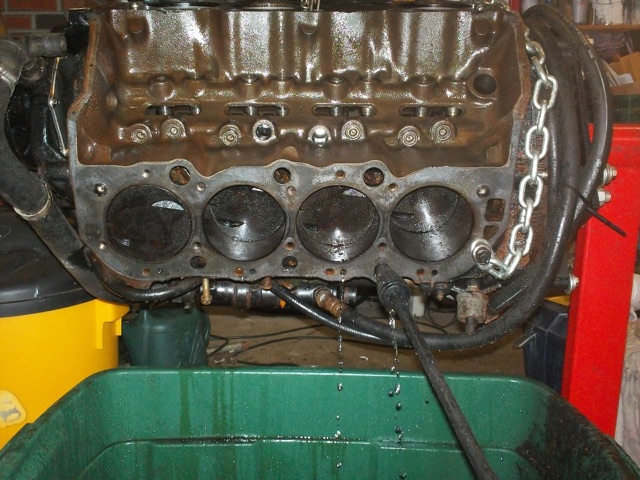
At this point, I got the first glimpse of the ‘lower end’ of the engine. Things looked really clean and there was not much sign of wear. The cylinder walls themselves were polished and had no detectable ridge either top or bottom.
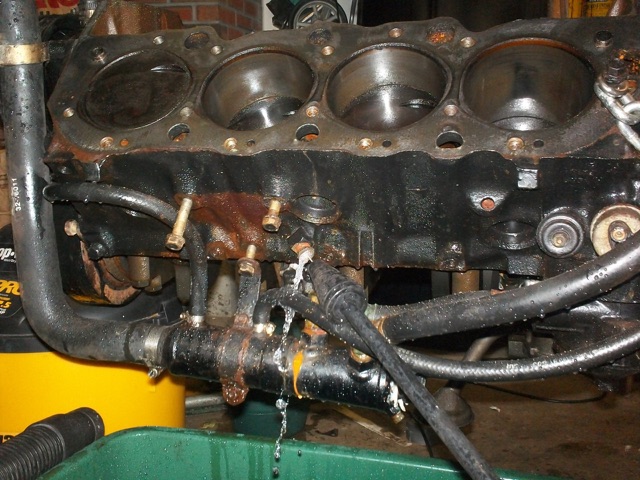
I inspected the insides of the engine block, also known as the water jackets, and found a significant amount of sediment. This was from iron flakes and sand build-up over the years. It seemed like the water passages were 1/2 full of sediment. This obviously would detract from the cooling abilities of the engine. My thoughts were that this contributed to the over heating situation. Sand build-up inside the engine block, which comes from the water intake, is something that may not get considered in an older engine. Clearly, it seemed to be an issue with this engine after 20 years of use.
I used a screw driver and a shop vacuum to loosen and remove much of the sediment, then used a pressure washer to really clean things out. I also removed the core plugs (aka freeze plugs) to gain further access to the water passages.
Here is a picture of ‘blasting’ the water passages with a pressure washer to clean things out.
I also found the engine block drains and made sure those were cleaned out and operational. Prior to cleaning them out, they would barely drain any water. I had not used them as part of my winterizing routine, as I opted for anti-freeze instead.
Now that they work, I guess I’ll use them.
The next steps were to take a look at the pistons and bearings. I did this by removing one of the pistons as a sample. I chose piston #4, because it was one of the cylinders with water around the exhaust valve, and presumably would reflect any issues. Click this link to see the cleaning and checking of the pistons and bearings .
Here is a picture with the core plugs removed. You get a good view of the cylinder walls and water passages when the core plugs are out.