Mercruiser 7.4L - Removing the Cylinder Heads
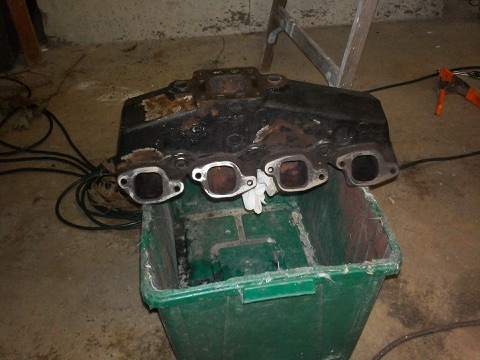
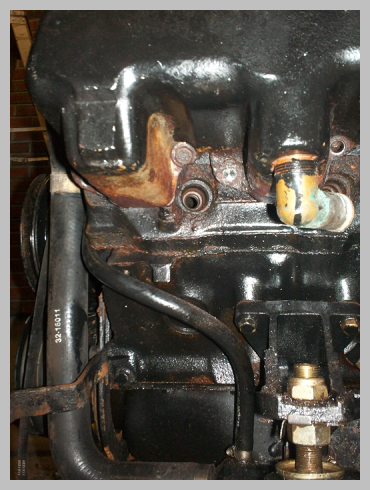
The exhaust manifolds had to be taken off prior to removing the cylinder heads. Of course, the bolts holding the manifolds were quite rusty from the heat exposure. Not all of the bolts would come off, regardless of the variety of socket heads and bolt extractors that I used. So, I bought and ‘end mill’ bit and milled the heads of the remaining bolts right off, leaving only the stud portion of the bolt. In total, 3 bolts needed to be milled off, and the stud portion was then easy to remove. The picture below (left) shows one of the milled bolts.

Examination of the exhaust manifolds showed rust in the middle 2 cylinders. These corresponded to the ‘bad’ cylinders on the original leak test.


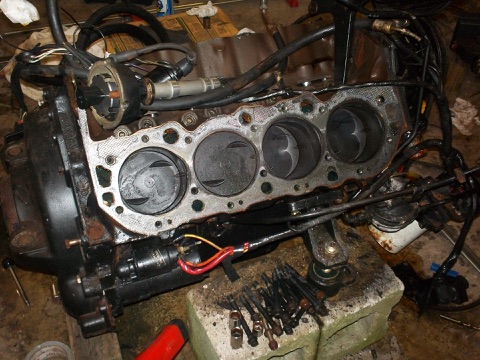
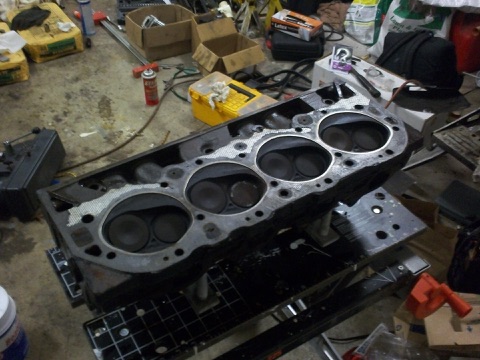
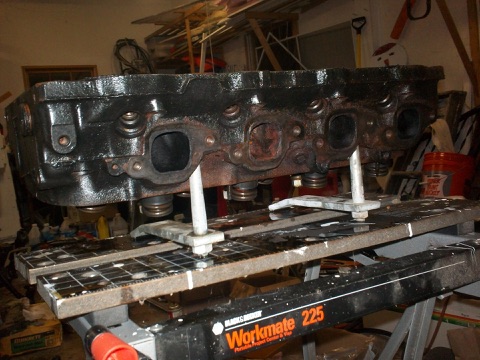
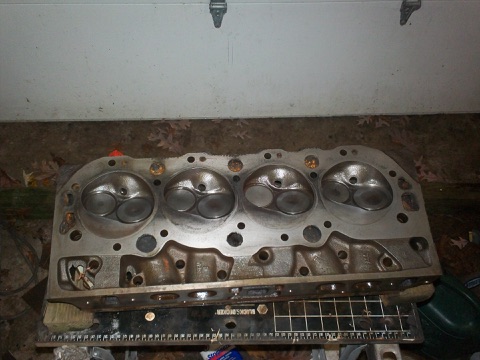
The cylinder heads were then removed to reveal the condition of the internal engine. I was expecting to find a blown head gasket, but surprisingly it was intact and in good condition. Below are a few pictures of the cylinders and the cylinder heads. Notice the rust on the exhaust valves of #4. There was rust on the exhaust valves of both #4 and #5. This was evidence that the joint between the exhaust manifold and riser had been leaking on both sides of the engine.
The pictures below show the head gasket in good shape, but the one exhaust port has quite a bit of rust. There was a minor amount of rust on the valves, but the valve seats had some significant rust and pitting. 2 valve seats needed to be replaced, the others just needed some grinding.

Here are some pictures (below) of the valves and valve seats, showing the rust around one of the exhaust valves and the corresponding valve seat that was removed.


Cylinder Heads Repaired:
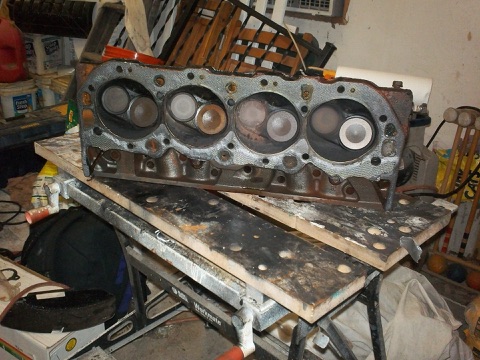
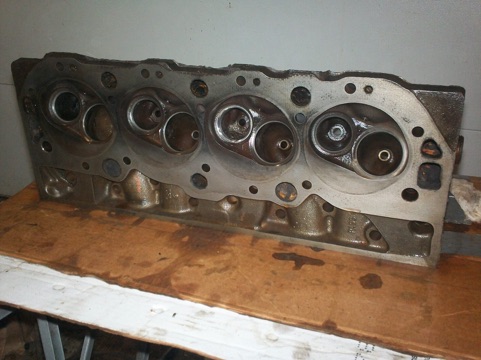
I removed the 2 rusty seats from the heads, and then brought the cylinder heads to a machine shop. They were counter-bored and slightly oversized valve seats were installed. The corresponding valves were ground and the valve seats were cut to the proper angle. Here are a couple of photos showing the new valve seat (there was one in each cylinder head), and the valves & heads all cleaned up ready for re-assembly.
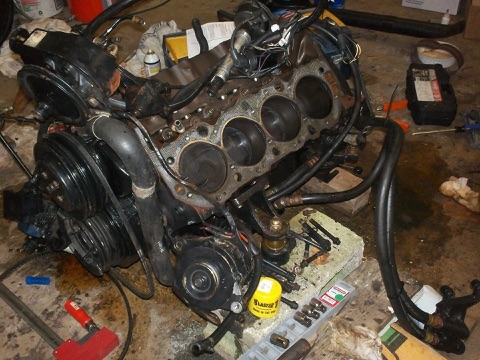
I also wanted to take a look at the lower end of the engine (i.e. crankshaft, pistons and rings) to check for wear, and possibly replace things as needed. Click this link to see the engine dis-assembly .


