Mercruiser 7.4L - Final Assembly


Now I was on the ‘downhill’ side of the project with the cylinder heads installed. The intake manifold was installed along with a host of other components.
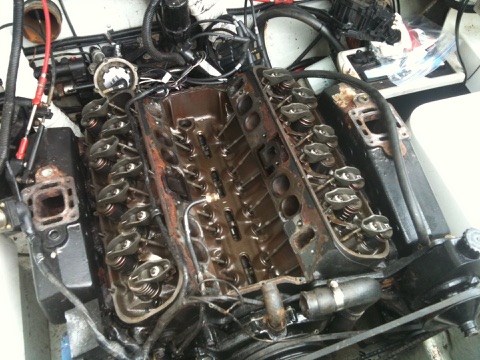
One of the things that I noticed when initially removing the intake manifold at the start of the project was a significant amount of rust in the areas of the crossover port, as shown in the picture below, left (see the yellow arrows). The rust was present because the gasket had backed away from that area over the years and allowed water to seep in to the exhaust crossover port & cylinder head. This appears to be a design flaw, as there is nothing to clamp the gasket tight in that specific area. This may have been the source of water intrusion more so than the exhaust riser joint issue; it is hard to know for sure.
Anyway, when I installed the intake manifold with the new gaskets, I made sure to apply extra gasket sealant and clamp that area tight while it set (picture below, right).
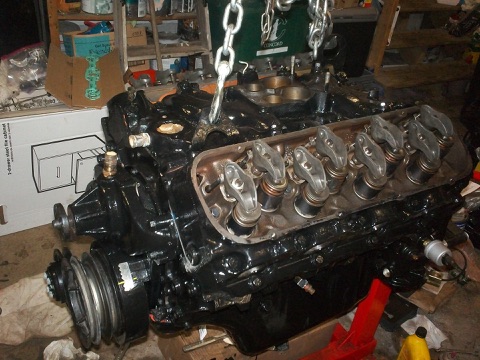
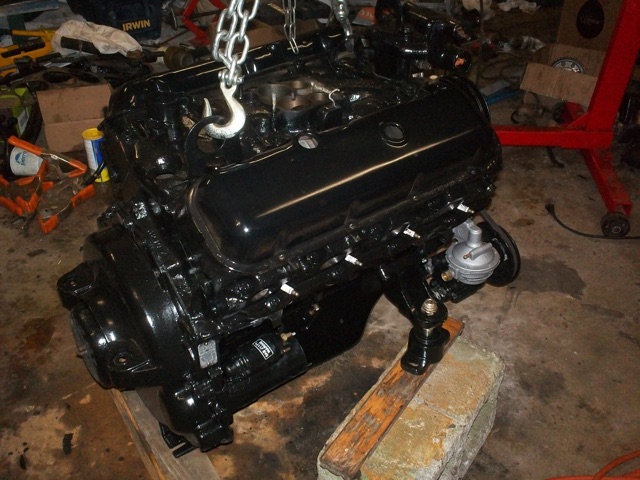
Here is a picture with the seawater pump, recirculating pump, fuel pump and engine mounts installed. At this point the engine was getting a bit heavy for the stand. So, it was time to lower it onto some blocks.
Below is a picture of the engine lowered onto blocks and the coupler, flywheel housing and starter motor installed.
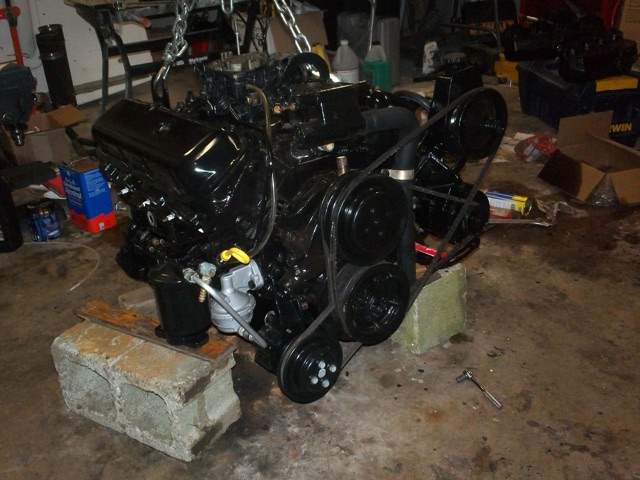
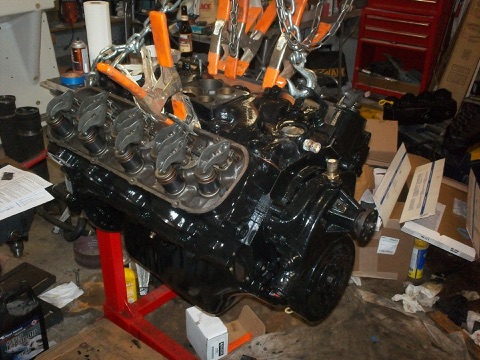
It is kind of amazing, all the things that get added to a base engine in order to make it run. Here is a picture with more ‘stuff’ added.
At this stage of the project, I was starting to hunt for the proper hardware among the parts. I managed to keep most of the parts separate in ziplock bags, but there seemed to be a few parts that were unaccounted for towards the end.
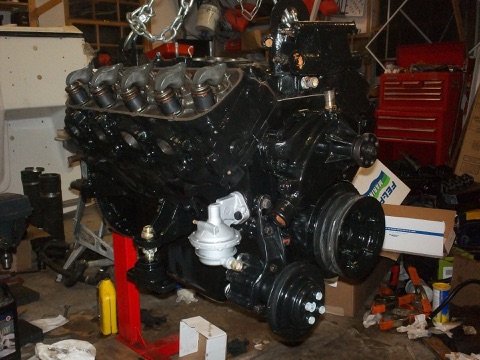
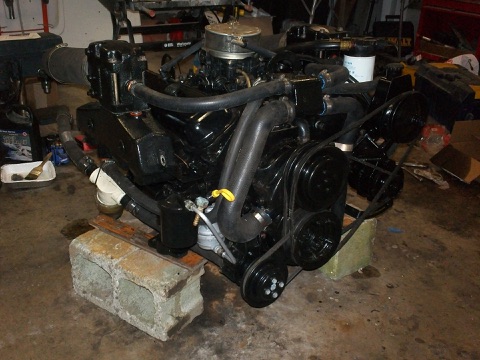
To the left is a picture with the fuel system components installed as well as all the belt-driven components on the front of the engine. Below are pictures of the hoses installed.
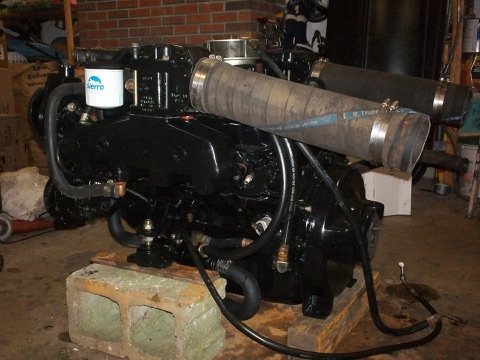
The engine was now ready to have the wiring harness installed, which is the last step in the process. Click here to go to the Wiring Harness Page .


